
 (905) 906-7546
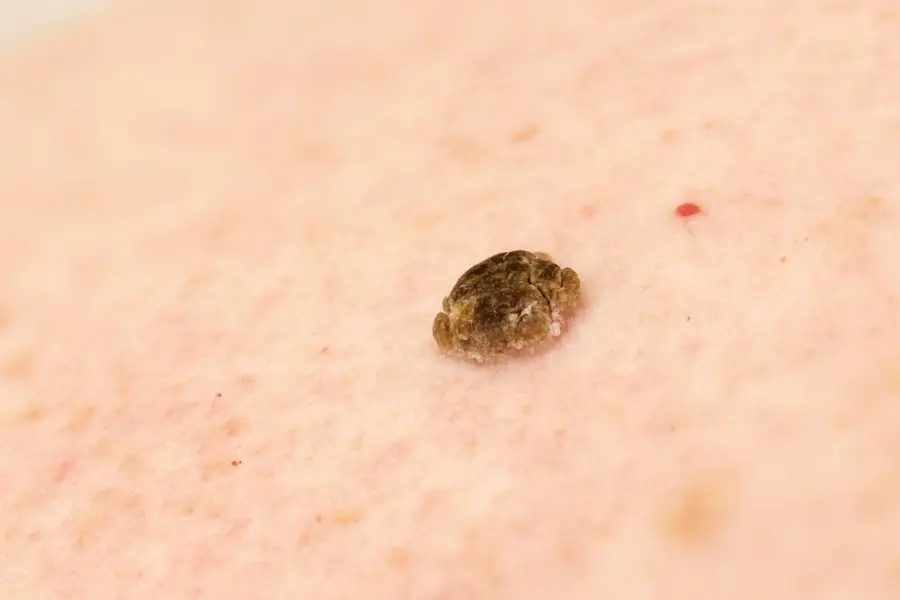
Prepare for Your Procedure Day
As your mole removal day approaches, taking a few simple steps to prepare will ensure things go smoothly. Your doctor will give you specific pre-procedure instructions tailored to your situation, but here are some general tips and reminders for the days leading up to the procedure (and the morning of):
- Follow medication guidance: Inform your doctor of all medications and supplememts you are taking. You may need to pause them prior to the procedure if they have any blood thinning effects. If you need a pain reliever in the days before surgery, acetaminophen (Tylenol) is usually a safe alternative, but again, get personalized advice from your physician.
- Keep your doctor informed: Make sure you’ve informed your healthcare team about all your medical conditions and allergies ahead of time.
- Stay sun-safe: In the weeks before your procedure, try to avoid intense sun or tanning on the area of the mole. While this isn’t always discussed, keeping the skin in its normal condition (not sunburned or tanned) can make the procedure and healing easier.
- The night before: Avoid alcohol the night before and day of your procedure, as alcohol can increase the risk of bleeding and may interfere with anesthesia or medications.
- Hygiene and skincare: On the day of the procedure, clean the area around the mole with mild soap and water during your shower or wash-up. Do not apply any lotions, creams, or makeup on or near the mole on the day of the procedure. If the mole is in a hairy area, resist the temptation to shave or wax right before the procedure unless your doctor told you to.
- Dress comfortably: Wear loose-fitting, comfortable clothing to your appointment. Choose an outfit that makes it easy to access the area where the mole is.
What to Expect on the Day of the Procedure
The big day is here! It’s normal to feel a little nervous, but knowing exactly what will happen can help put you at ease. Mole removal is generally quick and straightforward, the whole process often takes only about 15 to 30 minutes from start to finish, depending on the size and number of moles being removed. Here’s a step-by-step look at what you can expect when you arrive for your procedure:
- Checking in and prep: After you check in at the clinic, you’ll review and sign a consent form for the procedure (this form confirms you understand the benefits and risks and agree to proceed). The medical team will then lead you to the treatment room. They’ll verify the mole(s) being removed and might take a “before” photo for your medical record. The area will be cleansed with an antiseptic solution, your skin will be cold and wet for a moment as they swab it, which is to prevent any infection. If you have any last-minute questions or concerns, the staff will address them before moving forward. They want you to be comfortable and informed.
- Numbing the area: To ensure you don’t feel pain during the removal, the doctor will inject a local anesthetic (such as lidocaine) into the skin around the mole. You’ll feel a small pinch or sting from the needle for a few seconds – similar to a quick bee sting – and then a slight burn as the medicine spreads, but this passes very fast. Within a minute or two, the area becomes numb. They’ll test the area to make sure you’re fully numb before proceeding. You will be awake, but rest assured you shouldn’t feel more than maybe some pressure or movement.
- Wrapping up the procedure: Once the mole is removed (shaved or excised), the doctor will ensure any bleeding is controlled (with pressure, cautery, or a small bandage). If you had stitches, those will be placed and will typically dissolve on their own or need removal in about 1–2 weeks, depending on the type (your doctor will tell you which it is). The wound will then be cleaned and covered with a bandage. The physician might apply a dab of antibiotic ointment under the bandage to help prevent infection.
After everything is done, you’ll get to go home the same day. Before you leave, the team will give you instructions on how to care for the area over the next few days. They will explain how to keep it clean, whether you need to apply any ointment or change the bandage, and what activities or products to avoid while it heals. (They might even give you an instruction sheet to take home.) You’ll also be told if you need to return for stitch removal or a quick follow-up exam. Be sure you understand the aftercare instructions and don’t hesitate to ask questions now if you’re unsure about anything. The nurse or doctor will be happy to clarify.
Preparing for a mole removal procedure is mostly about being informed and taking a few common-sense steps ahead of time. By identifying the mole(s) you want removed, asking questions, consulting with a qualified doctor, and following pre-procedure guidance, you’ve set the stage for a smooth experience.
Our goal is to help you feel comfortable and cared for at every step. For more information book a consultation or call us at (905) 906-7546. We’re here to support you and make this experience as easy as possible.